 how-to
How to Get a Roof Inspection: A Step-by-Step Guide
Table of Contents
- Why You Need a Roof Inspection
- Signs of Roof Damage That Warrant an Inspection
- Step 1: Identify Your Inspection Type
- Step 2: Find a Qualified Roofing Contractor
- Step 3: Schedule and Prepare for Your Inspection
- Step 4: Understand Roof Inspection Cost
- Step 5: Know What Inspectors Look For
- Roof Rejuvenation vs Replacement: Making the Right Choice
- Frequently Asked Questions
Last Updated: October 4, 2026
Why You Need a Roof Inspection
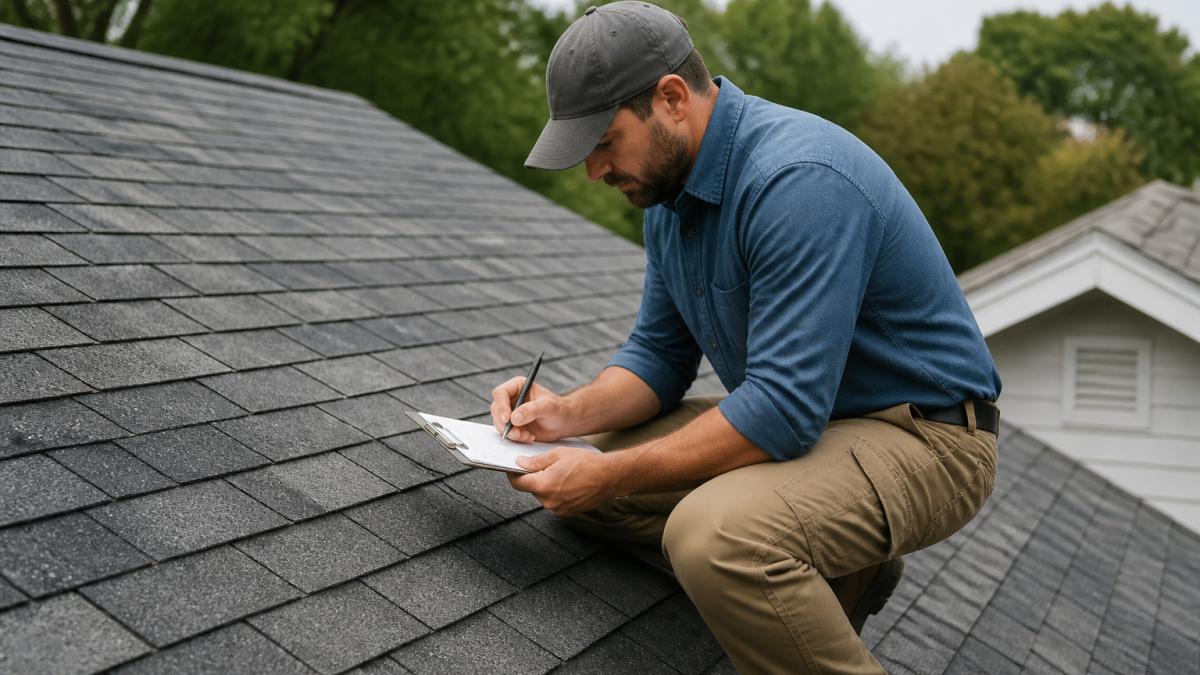
A roof inspection is a professional evaluation of your roof's condition, structural integrity, and remaining lifespan. It identifies damage, safety hazards, and maintenance needs before they become expensive problems. Think of it as a health checkup for your home's most critical protective system.
Your roof faces constant stress from weather, temperature swings, and UV exposure. Over time, shingles curl, flashing deteriorates, and hidden leaks develop inside your attic. By the time you notice a problem, water stains on your ceiling, missing shingles after a storm, damage has often spread beyond what's visible.
A professional roof inspection catches these issues early. It documents the current condition, estimates remaining lifespan, and guides your next decision: repair, rejuvenation, or replacement.
At ATX RENEWED ROOFS, we've conducted hundreds of inspections for homeowners in the Austin area. We've seen roofs that looked fine from the ground but had serious structural issues. We've also found roofs that appeared damaged but had years of life left. This is why a thorough inspection matters.
Signs of Roof Damage That Warrant an Inspection
Several warning signs indicate your roof needs professional attention. Don't wait for a leak to appear inside your home.
Visible shingle damage is the most obvious signal. Look for curling, buckling, or missing granules (the sandy texture on shingles). Granule loss exposes the asphalt underneath to UV damage and accelerates deterioration. Curled shingles no longer shed water effectively.
Flashing issues around chimneys, vents, and skylights are common problem areas. Flashing is the metal trim that directs water away from penetrations. When flashing separates, rusts, or cracks, water enters your attic.
Sagging or uneven roof lines suggest structural problems. This could mean damaged roof trusses, inadequate ventilation, or moisture accumulation in the deck.
Moss or algae growth indicates moisture retention. While not always dangerous, it signals poor drainage or ventilation that can lead to rot.
Age is also a factor. Most asphalt shingle roofs last 15-20 years in this climate. If your roof is approaching that age, an inspection helps you plan ahead rather than react to failure.
Attic signs matter too. Water stains on rafters, dark spots, or musty odors point to active or past moisture intrusion. These require immediate investigation.
Step 1: Identify Your Inspection Type
Not all inspections are the same. Understanding what you need shapes your next steps.
Standard roof inspection is the most common. A qualified contractor evaluates the roof's current condition, identifies damage, and estimates remaining lifespan. This is what you need before deciding whether to repair, rejuvenate, or replace.
Warranty inspection is required by some manufacturers or insurance companies. It documents that the roof meets specific standards. If you're filing an insurance claim, your insurer may require this type.
Storm damage assessment follows severe weather. It identifies hail damage, wind damage, or impact damage that may not be obvious. Insurance companies often require this before approving claims.
New construction inspection verifies that a newly installed roof meets building codes and manufacturer specifications. Builders should provide this automatically, but it's worth confirming.
Pre-purchase inspection happens when buying a home. It reveals the roof's condition so you can negotiate repairs or price adjustments.
For most homeowners, a standard roof inspection is the right choice. It gives you clear information about your roof's health and options moving forward.
Step 2: Find a Qualified Roofing Contractor
This is where many homeowners struggle. How do you find someone trustworthy in an industry with minimal regulation?
Start by asking for referrals from friends, neighbors, and family. Personal recommendations carry weight because they come from people you trust who've seen the work firsthand.
Check online reviews on Google, Yelp, and the Better Business Bureau. Look for patterns in feedback. One negative review doesn't mean much, but consistent complaints about communication, pricing, or quality are red flags.
Interview at least three contractors. Get written estimates from each. Compare not just price but what's included: will they inspect the attic, check ventilation, assess flashing, and provide photos?
Ask how long they've been in business. Established contractors have a reputation to protect. They're less likely to cut corners or disappear after the job.
Verify Licensing and Insurance
Ask for proof of general liability insurance and workers' compensation insurance. This protects you if someone is injured on your property or if damage occurs during the inspection.
Don't skip this step. An uninsured contractor who gets hurt on your roof could sue you for medical expenses. Insurance is non-negotiable.
Check References and Certifications
Ask contractors for references from recent jobs. Call them. Ask specific questions: Did the contractor finish on time? Was communication clear? Did they clean up afterward? Would you hire them again?
Some contractors hold certifications from manufacturers like GAF, Owens Corning, or CertainTeed. These certifications indicate training and commitment to quality. They're a plus, though not required for a basic inspection.
Professional certifications like the National Roofing Contractors Association (NRCA) membership show that a contractor stays current with industry standards and best practices.
Step 3: Schedule and Prepare for Your Inspection
Once you've selected a contractor, scheduling is straightforward.
Call or email to request an appointment. Most contractors offer inspections within a week. Provide your address and a brief description of any concerns (recent storm, visible damage, age of roof).
Plan for the inspection to take 30-60 minutes depending on roof size and complexity. The contractor will spend time on the roof, in the attic, and examining the exterior.
Prepare your home by ensuring access. Make sure the contractor can reach your attic safely. Remove obstacles around the exterior perimeter so they can inspect gutters, fascia, and soffit.
Provide the contractor with the roof's installation date if you have it. This helps them assess age and remaining lifespan.
Have a list of specific concerns ready. If you've noticed leaks, missing shingles, or other issues, point them out. This helps the inspector prioritize their evaluation.
Ask the contractor what documentation they'll provide. You'll want photos, written findings, and recommendations. If you're filing an insurance claim, ask about their documentation process upfront.
Step 4: Understand Roof Inspection Cost
Inspection costs vary based on roof size, complexity, and your location. Most homeowners should budget for a professional inspection as an investment in informed decision-making.
Factors affecting cost include roof square footage (measured in "squares," where one square equals 100 square feet), roof pitch (steeper roofs take longer), and accessibility. A simple single-story home with a standard pitch costs less to inspect than a complex multi-story roof with multiple penetrations.
Many contractors offer free or low-cost inspections if you're considering their repair or replacement services.
For an unbiased assessment, consider hiring an independent inspector who doesn't perform repairs. They have no financial incentive to recommend unnecessary work.
Ask about pricing upfront. Get written quotes from multiple contractors so you can compare. Don't automatically choose the cheapest option, quality matters more than price.
Step 5: Know What Inspectors Look For
Understanding what a professional evaluates helps you recognize quality work and ask informed questions.
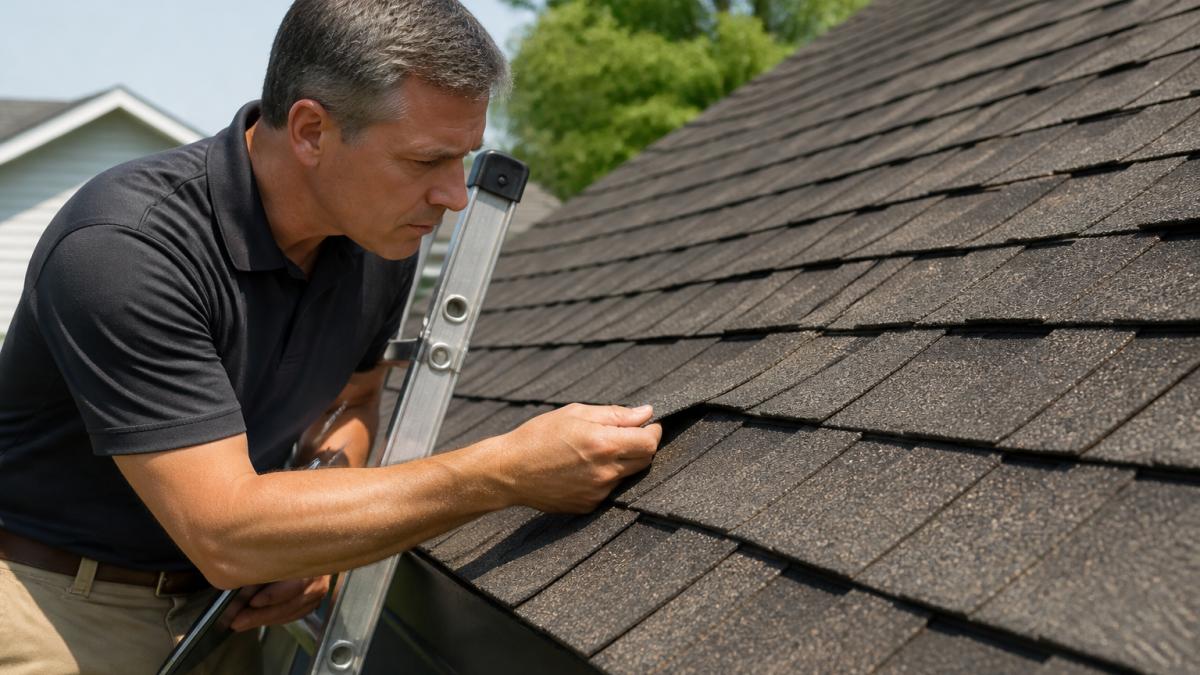
Shingle condition is the foundation of any inspection. Inspectors check for curling, buckling, blistering, and missing or exposed nails. They assess granule loss by looking at color fading and bare spots.
Flashing integrity around chimneys, vents, skylights, and valleys receives close attention. Flashing should be intact, properly sealed, and free from rust or gaps. Poor flashing is one of the most common sources of leaks.
Roof structure and decking are evaluated from the attic. Inspectors look for soft spots, water stains, mold, or rot that indicate moisture damage or structural failure.
Attic ventilation matters for roof longevity. Proper airflow prevents moisture buildup, which accelerates deterioration. Inspectors check for adequate venting, blocked vents, or improper insulation that restricts airflow.
Gutters and downspouts are examined for debris, damage, and proper drainage. Clogged gutters cause water to back up under shingles and damage fascia and soffit.
Underlayment (the layer beneath shingles) should be visible and intact. Damaged or missing underlayment reduces weather protection.
Roof pitch, valleys, and penetrations are all documented. Valleys (where two roof planes meet) are high-risk areas for leaks. Penetrations like vents and chimneys are common problem spots.
Workmanship quality is assessed if the roof was recently installed or repaired. Proper nail placement, adequate sealant, and correct overlap all indicate quality work.
The inspector should provide a written report with photos, findings, and recommendations. This documentation is essential if you need to file an insurance claim or make repair decisions.
Roof Rejuvenation vs Replacement: Making the Right Choice
After your inspection, you'll face a decision: repair, rejuvenate, or replace?
Full replacement means removing old shingles and installing a new roof. It's the most expensive option, typically costing significantly more than alternatives.
Roof rejuvenation is a sustainable alternative that extends your roof's life. It restores essential oils to aging asphalt shingles, improving flexibility and water resistance. Rejuvenation costs a fraction of replacement and reduces landfill waste.
Rejuvenation works best on roofs that are 10-20 years old with no major structural damage. If your inspection shows the underlying structure is sound but shingles are aging, rejuvenation can add 5-10 years of life.
At ATX RENEWED ROOFS, we use an eco-friendly, plant-based spray that restores your roof's strength and appearance. It's transparent, affordable, and keeps your roof out of the landfill.
Repairs address specific damage without treating the entire roof. They're appropriate for isolated issues like missing shingles, damaged flashing, or small leaks. Repairs buy time but don't extend overall roof lifespan.
Your inspection report guides this decision. If the inspector identifies structural issues, replacement is necessary. If the roof is aging but structurally sound, rejuvenation extends life affordably. If damage is isolated, targeted repairs may suffice.
Consider your timeline, budget, and environmental priorities. A roof that's 18 years old with cosmetic aging but solid structure might not need replacement for another 5-10 years. Rejuvenation can bridge that gap while saving thousands.
Getting a roof inspection is the first step toward informed decision-making. At ATX RENEWED ROOFS, we provide honest assessments and transparent guidance. Contact us for a free estimate to learn whether your roof can be rejuvenated or needs other attention.
| Inspection Type | Best For | Timeline | Cost |
|---|---|---|---|
| Standard Inspection | General condition assessment | Within 1 week | Varies by contractor |
| Warranty Inspection | Manufacturer or insurance requirements | 1-2 weeks | Often covered by warranty |
| Storm Damage Assessment | Insurance claims after severe weather | Within 48 hours | Often covered by insurance |
| Pre-Purchase Inspection | Buying a home | Before closing | Homebuyer responsibility |
| New Construction Inspection | Verifying new roof installation | Before final payment | Builder responsibility |
Frequently Asked Questions
How much does a roof inspection cost?
Roof inspection costs vary based on roof size, complexity, and inspector experience. Many contractors offer free visual inspections as part of an initial assessment, while comprehensive inspections with detailed reports typically range from a few hundred dollars. Contact local contractors for current pricing, or request a free estimate to understand what you'll pay for your specific roof.
What are the main signs of roof damage?
Common signs include missing or curled shingles, visible granule loss, sagging areas, water stains on ceilings, damaged flashing around vents and chimneys, and moss or algae growth. Storm damage like hail or wind damage may cause dents or lifted shingles. If your roof is 15-20 years old and showing these signs, a professional inspection can determine whether rejuvenation or replacement is appropriate.
How often should I get my roof inspected?
Most experts recommend annual roof inspections, especially after severe weather. For older roofs (15+ years), twice-yearly inspections help catch deterioration early. Regular inspections extend your roof's lifespan by identifying small issues before they become costly repairs. If you're considering roof rejuvenation, an initial inspection establishes your roof's current condition and remaining functional life.
What's the difference between roof rejuvenation and replacement?
Roof rejuvenation restores aging asphalt shingles by replenishing essential oils, improving flexibility and weather resistance while extending lifespan by several years, at a fraction of replacement cost. Replacement involves removing old materials and installing a new roof. Rejuvenation works best for roofs with structural integrity but fading or brittleness; if your roof has severe structural damage or is near end-of-life, replacement may be necessary.