 How-to
How to Get a Free Roof Condition Assessment in Austin
Last Updated: November 5, 2026
Quick Summary
A free roof condition assessment is a no-cost visual evaluation of your roof's surface, flashing, gutters, and attic that shows how much wear it has. In Austin, heat and UV exposure are the main factors to check. Ask before booking whether the inspection and written report carry any obligation to buy.
- Check shingle curling, cracking, blistering, and granule loss, plus flashing around chimneys, vents, and valleys.
- Ask whether you will receive a written report with photos, not just a verbal summary.
- Request itemized quotes for every recommended repair and compare them against the report's scope.
- Do not climb onto the roof yourself; leave rooftop access to the professional.
- Keep the report as a dated baseline for future assessments or insurance claims.
Table of Contents
- What a Free Roof Condition Assessment Covers
- How Much Does a Roof Assessment Cost, and What Does Free Really Mean?
- Preparing for a Free Roof Inspection: Your Homeowner Checklist
- How to Request Your Free Roof Condition Assessment
- What Happens During the Inspection and How Long It Takes
- Reading Your Report and Estimating Repair Costs
- Booking Your Roof Inspection Checklist Review and Next Step
- Frequently Asked Questions
What a Free Roof Condition Assessment Covers
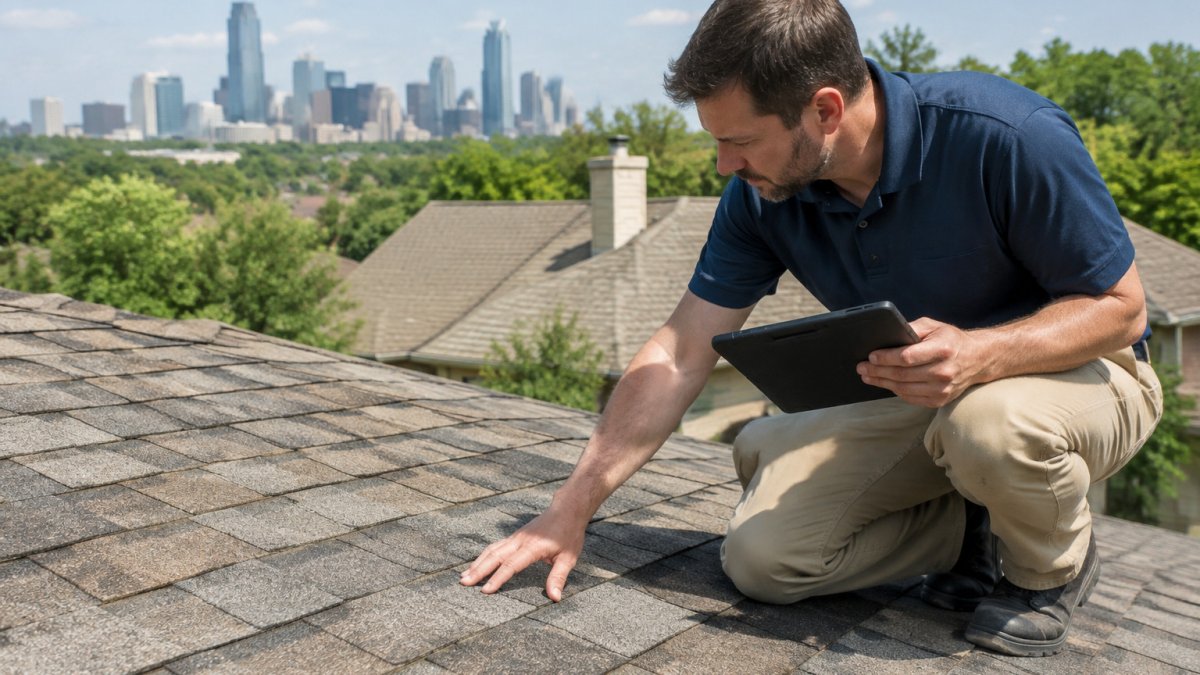
Searching for a free roof condition assessment is usually the first step for an Austin homeowner who suspects their roof is nearing the end of its useful life. A free roof condition assessment is a visual evaluation of your roof's surface, flashing, penetrations, gutters, and attic, performed without charge to help you understand what shape it is in. Most reputable providers look at shingle wear, curling, missing granules, loose or damaged flashing, and signs of water intrusion inside the home.
In Austin, heat and intense sun are the factors that matter most. Years of UV exposure dry out asphalt shingles, cause granules to loosen, and make the material brittle. An assessment should document how far that process has advanced on your specific roof, not offer a generic answer.
A thorough visit typically covers:
- Shingle condition, including curling, cracking, blistering, and granule loss
- Flashing around chimneys, vents, skylights, and valleys
- Gutters and downspouts for granule buildup, which signals shingle breakdown
- Attic ventilation and signs of moisture or staining on the underside of the decking
- Roof age and an estimate of remaining service life
How Much Does a Roof Assessment Cost, and What Does Free Really Mean?
A free roof condition assessment carries no charge for the inspection itself. The word "free" describes the visit, not the outcome. Some providers use a no-cost inspection as a way to start a sales conversation, so it is reasonable to ask what happens after the visit and whether any follow-up is required.
Ask these questions before scheduling:
- Is the inspection and written report truly no-cost, with no obligation to buy?
- Will you receive a written report or only a verbal summary?
- Are any repair or replacement quotes included, and are they itemized?
- Is there pressure to sign a contract the same day?
Pricing for any recommended work depends on the scope of the job, the roofing material, and the size of the home, so it varies widely. We would rather you get a clear picture of your options than a number that sounds good on paper. Current pricing for our treatment is available on our website, and you can request a free estimate to get a quote once we have seen your roof.
Preparing for a Free Roof Inspection: Your Homeowner Checklist
Preparation makes an assessment more useful. Walk the property before the inspector arrives and note anything you have already seen. The following steps take less than an hour. For a full walk-through of what to expect and how to get an inspection arranged, see how to get a roof inspection step by step.
- Gather your records. Locate the original installation date, any past repair invoices, and warranty documents.
- Check the interior. Look at ceilings and upper-floor walls for stains, bubbling paint, or soft spots.
- Inspect the yard. Collect loose granules from the driveway, gutters, and downspouts. Heavy buildup is an early warning sign.
- Note recent weather events. Hail, high wind, or a storm with heavy rain should be documented with dates.
- Clear access. Move vehicles, trim low branches, and make sure the attic hatch and any gates are reachable.
- Prepare questions. Write down anything you have noticed or been told by a neighbor or previous contractor.
Watch out: do not climb onto the roof yourself to take photos. Loose shingles and wet surfaces cause serious falls, so leave rooftop access to the professional.
How to Request Your Free Roof Condition Assessment
Requesting an assessment takes only a few minutes. Visit our services page to see what we offer and choose the inspection that fits your situation. Austin homeowners can also confirm our coverage on our Dallas TX page before booking, since service areas are listed there.
Provide your address, the approximate age of your roof, and any problems you have noticed. That information helps us prepare for the visit and arrive with the right tools. If you are not sure how old the roof is, say so; the inspection can establish an estimate from the materials and wear patterns.
You do not need to be home during the inspection, although it helps to have a contact number available in case the inspector has a question.
What Happens During the Inspection and How Long It Takes
A residential assessment typically takes a period of time that depends on roof size, pitch, and complexity, and a steep or multi-level roof takes longer. A thorough inspection generally moves through the exterior, roof surface, flashing, gutters, and attic, and ask the provider to confirm exactly what their visit includes.
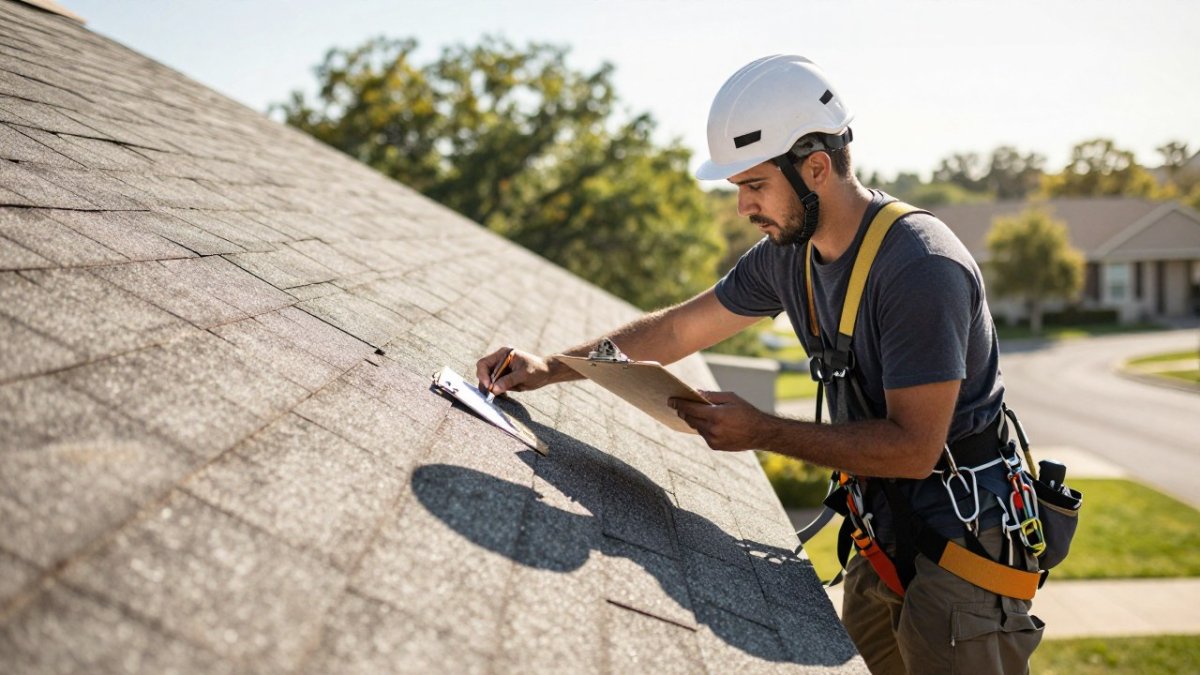
Not every assessment uses the same method. Ask which approach a provider will use, because each has trade-offs:
- Ground-level visual. The inspector stays on the ground with binoculars and a camera. Fast and safe, but it cannot confirm shingle adhesion, decking condition, or flashing detail on low-slope sections.
- Roof-walk. The inspector walks the surface in a safety harness. This is the most thorough way to check shingle condition, granule loss, and flashing, but it is limited on steep, fragile, or wet roofs where walking would cause damage or injury.
- Attic review. Looking at the underside of the decking, insulation, and ventilation reveals moisture intrusion and ventilation problems that are invisible from above. It cannot confirm the source of a leak on its own.
- Drone imagery. Useful for steep, tall, or hard-to-access roofs and for documenting storm damage across large areas. Image quality and lighting affect what can be seen, and a drone cannot test shingle adhesion or check the attic.
Some inspections combine methods, such as a roof-walk where safe and an attic review. Ask beforehand which methods will be used and whether the report will note where a method was limited.
Limitations matter. A visual inspection cannot detect every problem, especially hidden moisture inside the insulation or damage beneath intact shingles. If the inspector suspects a deeper issue, they should say so and recommend further testing rather than guess. An assessment is a condition snapshot, not a guarantee that the roof will remain problem-free.
Watch out: do not climb onto the roof yourself to check on the inspector or take your own photos. Loose shingles, wet surfaces, and steep pitches cause serious falls, and homeowners are not insured for roof access the way a professional crew is. Leave rooftop access to the professional and report concerns from the ground.
Reading Your Report and Estimating Repair Costs
A written report should include photos, a condition rating for each area, and a list of recommended actions. Read it with three questions in mind: what needs attention now, what can wait, and what is simply normal wear. Most practitioners organize findings by severity, and understanding that structure is what turns a report into a plan.
A typical severity scale looks like this:
- Immediate or safety-related. Active leaks, missing shingles, exposed fasteners, or flashing that has failed. These should be addressed before the next significant rain.
- Near-term. Curling, cracking, or granule loss confined to a slope or two, or a flashing detail showing early wear. Plan for these within the next season or two.
- Monitor. Normal wear consistent with the roof's age. Note it, photograph it, and re-check at the next assessment rather than paying for work now.
Use the photos to match each finding to a location on your roof. A report that lists a repair without a photo and a location is hard to verify, so ask the inspector to walk you through the images and point to the same spot on the roof. If a rating is unclear, ask what would move that area from "monitor" to "near-term", the answer tells you what to watch for.
Prioritize by consequence, not by price. A small flashing repair that prevents water from reaching the decking is worth more than a cosmetic fix on a slope that is otherwise sound. Generally, repair makes sense when damage is localized, such as a few cracked shingles or a single failed flashing point, and the rest of the roof is sound. To see the key warning signs and when repair versus replacement makes sense, read our signs your roof needs replacement guide. Replacement becomes the better option when granule loss is widespread, shingles are curling across multiple slopes, or the roof is near the end of its service life. Our treatment can extend the life of a roof that is still structurally sound, but it does not repair physical damage, so the report should say which situation applies to your roof.
For cost estimates, request itemized quotes for each recommended repair. Compare them against the scope in the report so you know exactly what each line covers, and ask whether the quote assumes the same method and access the inspector used. If a quote is far below the others, ask what it excludes, disposal, decking repair, or permit costs are common omissions.
Keep the report. It becomes your baseline for the next assessment, and a dated record of condition can be useful if you later file an insurance claim or sell the home.
The report sorts findings by severity, so the table below shows how to read each level.
| Severity | What it looks like | Timing |
|---|---|---|
| Immediate or safety-related | Active leaks, missing shingles, exposed fasteners, failed flashing | Before the next significant rain |
| Near-term | Curling, cracking, or granule loss on a slope or two | Within the next season or two |
| Monitor | Normal wear consistent with the roof's age | Re-check at the next assessment |
Booking Your Roof Inspection Checklist Review and Next Step
Before you book, review the checklist above and confirm you have your records, photos of any problems, and a list of questions. A prepared homeowner gets more from the visit and from the report that follows.
When you are ready, contact us to schedule your assessment. We will walk you through the report and explain your options without pressure.
Frequently Asked Questions
How much does a roof assessment cost?
Many roofing companies offer a no-cost roof assessment, so the inspection itself often carries no charge. Pricing for any repair or treatment depends on the size of the roof, the extent of wear, and the materials involved, so it varies from home to home. For current pricing on ATX Renewed Roofs services, visit the pricing page on the company website or request a free estimate to get a quote tailored to your roof.
Do roofing companies give free inspections?
Many do, but the terms differ. A free inspection is usually a visual evaluation meant to identify damage, wear, and the general condition of the roof. Ask whether the assessment includes a written report, photos, attic and ventilation review, and whether any follow-up is required. Also ask whether the inspection is no-obligation, so you know whether you will be pressured to buy a service on the spot.
How do I know whether my roof needs repair or replacement?
The answer depends on the roof's age, the extent of granule loss, curling or missing shingles, leaks, and how much of the surface is affected. A roof with localized damage may be a good candidate for repair or restoration, while widespread failure usually points to replacement. A reputable inspector should explain the reasoning behind a recommendation and tell you honestly when a roof cannot be saved.
Can a roof assessment identify storm damage?
Yes. A roof condition assessment can look for hail impact marks, wind-lifted or creased shingles, damaged flashing, and displaced granules that suggest recent storm activity. Document the findings with dated photos and keep the written report, since it may support an insurance claim. An inspector cannot always confirm when damage occurred, so mention any recent storms when you schedule the visit.
Ready to find out where your roof stands? Get a free estimate today from ATX Renewed Roofs and get an honest assessment of your roof's condition, with no pressure to commit.